Showing posts with label Snacks. Show all posts

Thursday, December 20, 2012

Gobhi Machurian

When I first came to US, I was super excited to see Chinese take-out places everywhere. I was so glad that we could still eat Schezwan Fried Rice, Hakka noodles and Manchurian. But not before long, my bubble of happiness burst when I visited one of those places and ate steamed vegetables and steamed rice for lunch. I searched for a Chinese place that served Chinese like we had in India with no avail. One day at work, I asked my Chinese colleague if she knew how to make authentic Machurian. She looked at me as if I was crazy and asked me "Machurian?" So I googled and image searched to convince her there is indeed a Chinese dish called Machurian. Sadly, she took none of it and told me all she knew was there is a place in China called "Manchuria" but that's it. Sadly, I accepted the fact that you can't find that kind of "Chinese" food anywhere but on the streets of India. If you are one of the lucky people who live in New York, I've heard there are several great Indo-Chinese places there. For other people like me, the only option is to try recreating the magic at home. Which is what I tried to do with this Gobhi Manchurian.

This recipe serves two.

Ingredients
For the sauce
Onions : 1/2 cup
Spring Onions : 3-4 bulbs with leaves, chopped
Garlic : 4 cloves, minced
Tabasco/Sriracha/Red Hot Sauce : 2 teaspoons
Soy Sauce : 2 teaspoons
Tomato Ketchup : 2 tablespoons
Salt : 1 teaspoon
Vinegar : 1 tablespoon
Olive Oil (or any that you use) : 1 tablespoon
Bell Pepper : 1/2 cup, chopped

For the cauliflower fritters
Cauliflower, washed and cut into florets : 2 cups
All Purpose Flour : 3 tablespoons
Corn Flour/ Corn Starch : 2 tablespoons
Salt : 1 teaspoon
Sriracha Sauce/ Tabasco : 1 teaspoon
Oil : As needed, for frying

Procedure
1) We will start with the sauce first, because we don't fried cauliflowers sitting around for too long and losing their crunch.
2) In a pan, heat oil and on a high flame, saute onions until they are pink. Add the bell pepper, garlic, and spring onions (reserve some leaves for garnishing) and mix well, cooking for a minute or two.
3) Add Sriracha/Tabasco sauce, Soy sauce, vinegar, and tomato ketchup. Mix well to combine.
4) Cook for 3-4 minutes, stirring continuously. Add little water if the mixture is too dry.
5) Do a taste-test and see if you need salt. Add as needed.
6) Switch off the flame and set sauce aside.
7) Heat oil for frying.
8) Let's prepare the batter for the fritters. Add all purpose flour and corn starch in a bowl. Add in salt, red sauce and mix to combine. Gradually add water as needed. Don't make the batter too thin, as it will not hold to the cauliflower. Don't make it too thick either, or the cauliflowers will not get cooked enough. The batter should be such that it holds on to the florets forming a medium-thick layer.
9) Dip the florets into the batter and fry them. Avoid adding too many at one time of they will stick to one another.
10) Once they have golden spots, remove and set aside on a plate covered with tissue paper.
11) Continue for the remaining florets.
12) Once all the florets have been fried, heat the sauce on a low flame and add the florets. Mix for a minute or two until the cauliflower is well coated with the sauce.
13) Garnish with chopped spring onion leaves and serve!

Gobhi Manchurian makes for a great appetizer or side dish with Fried Rice or Noodles.

Saturday, October 20, 2012

Pumpkin Bread

This is my first attempt of baking with pumpkin and it was surprisingly good. We commonly use pumpkins in India for various curries but I never imagined that flavor with a sweet tinge. I tried the recipe from my Betty Crocker cookbook and it turned out amazing. The flavor is not that pumpkin-y and the spices elevate the bread to a whole new level. It is lightly sweet, dense, moist and would go perfectly with a hot cup of coffee. No wonder its one of the most popular recipes during Fall!

This recipe makes 1 loaf.
Ingredients
Sugar : 3/4 cup + 1 tablespoon
Pure pumpkin puree : 1 cup
Vegetable (or any other neutral) oil : 1/3 cup
Pure vanilla extract : 1 teaspoon
Eggs : 2
All purpose flour : 1 and 1/2 cup
Baking powder : 1 teaspoon
Baking soda : 1 teaspoon
Salt : 1/2 teaspoon
Pumpkin Pie Spice : 1 tablespoon
Chopped Walnuts : 1/2 cup (optional)

Procedure
1) Heat oven to 350F and grease the loaf pan. In a mixing bowl, whisk together sugar, pumpkin puree, oil, vanilla essence, and eggs.
2) Add all purpose flour, baking soda, baking powder, salt, and pumpkin pie spice and stir just until combined.
3) Stir in chopped walnuts (I forgot to add them to the loaf you see below) and pour into the loaf pan.
4) Bake for 55-60 minutes, or until toothpick inserted in the center of the bread comes out clean.
Let cool completely before slicing.
Note: I like my bread to be less on the sweet side, but if you like it sweeter, add 2-3 tablespoons more sugar to the batter. Chocolate chips and raisins are also very interesting additions to this bread!

Wednesday, October 3, 2012

Quintessential Street Food : Vada Pav

Ask any person from Bombay, rich or poor, young or old, what they can have for breakfast, lunch, and dinner without any complaints...I bet most people (including me) will say good old Vada Pav! I could describe Vada Pav as "potato fritters sandwiched between buns with chutneys" but that would be an insult to the beloved king of street food. Vada Pav is much more than that - it is a favorite snack for kids, a quick lunch for office going folks, an affordable dinner for laborers and truly a treat for the common man. What makes it so special? It is the burst of flavors at each bite? Or the fact that you can't stop yourself at one? Whatever it is, I have yet to meet person who says he/she doesn't like Vada Pav. I've made these several times for friends on different occasions and it always been a hit. So, thought of sharing the recipe with you all. Hope you benefit from it :)

This recipe will make about 6 Vada Pavs (for us, that's just 2 servings. Greedy? Yes. Ashamed? No.)

Ingredients
For the filling:
Potatoes (I use Yukon Gold) : 5
Chopped Onion : 1/2 cup
Curry Leaves : 4-5
Methi Seeds : 3-4
Mustard Seeds : 1/2 teaspoon
Cumin Seeds : 1/2 teaspoon
Red Chilly Powder : 1 teaspoon, or to taste
Dry Mango Powder (Amchur) : 1/2 teaspoon
Turmeric Powder (Haldi) : 1/2 teaspoon
Salt : 1.5 teaspoon, or to taste (divided)
Oil : 2 tablespoons
Garlic cloves, minced : 4
Hing : a pinch
Coriander leaves : about 10-12 springs, washed and chopped.

For the vadas (fritters)
Besan : 1/2 cup
Water: 3 tablespoons, little more or less
Red Chilly Powder : 1/2 teaspoon
Turmeric : 1/2 teaspoon
Salt : 1/2 teaspoon
Oil : As needed, for frying

For the Sweet Chutney:
Pitted Dates : 4
Brown Sugar : 1 cup
Salt : 1/2 teaspoon
Black Pepper Powder : 1/2 teaspoon
Tamarind Paste : 1.5 tablespoons

For the Green Chutney:
Chopped Coriander : 1 cup
Chopped Mint : 1/4 cup
Green Chillies : 3-4 (or to taste)
Salt : 1/2 teaspoon
Lemon Juice - 1 tablespoon

For the Dried Garlic Chutney:
Dry Shredded Coconut : 1 cup
Garlic Cloves : 10-12
Dried Red Chillies : 4-5
Tamarind Paste : 1 tablespoon
Salt - 1 teaspoon

Procedure
For the vadas:
1) Boil potatoes with a pinch of salt and when done, peel and mash them. I usually use a pressure cooker to boil them as that's the fastest method.
2) In a pan, add oil and let it heat. Add mustard, methi and cumin seeds and let them crackle.
3) Add a pinch of hing and onions and cook them for a minute or two, until they are pink.
4) Add the minced garlic and curry leaves cook for another minute or two.
5) Add the dry spices (red chilly powder, haldi) and quickly add the mashed potatoes.
6) Give it a good mix and add about a teaspoon of salt (or to taste).
7) Add some dry mango powder and mix again.
8) Let the mixture cook for about 10 minutes on a low flame. Make sure to stir in between to prevent the stuffing from sticking to the bottom of the pan.
9) Add chopped coriander to the mixture and set aside to cool.
10) In the meanwhile, prepare the batter/covering for the vadas. In a bowl, add besan, salt, red chilly powder, turmeric, and salt. Mix well to evenly distribute the ingredients and add water gradually as needed. The batter should not be too thin, otherwise it will not hold on to the filling.
11) Mix well with a whisk to avoid lumps.
12) When the filling has cooled, make even sized balls and set aside.
13) Heat the oil for frying and when it has heated enough (you will know when a small drop of batter dropped in the oil will come right back up), dunk the potato mixture ball into the batter to cover it evenly on all sides and slowly drop it in the oil. Be extra careful when dealing with hot oil!
14) When the vadas are golden brown on all sides, remove them on a plate covered with tissue paper to absorb the extra oil.
15) Continue the process for the remaining vadas.

For the Chutneys:
1) Chutneys look intimidating but are actually the easiest part. Just grind everything listed under the individual chutneys together and you're all set! And if you are not in the mood to make all or any one of the chutneys, you can also use the bottled ones from the Indian Stores.

To Assemble the Vada Pav:
1) Divide the bun into half by slicing through horizontally and apply green chutney on both sides. Then follow up with the sweet tamarind-date chutney and dried garlic one. Usually I use potato/dinner rolls as the Pav but if you can get the traditional Pavs, that would take the awesomeness of this dish just one notch higher.
2) Place the vada between the buns and indulge!
3) I also added roasted green chillies on the side. Just slit the chillies and roast them directly on the flame (slitting is important or chilly tends to burst!)
If this does not make one's mouth water, I honestly don't know what does :)

Friday, September 21, 2012

10-Minute Homemade Salsa

If you suffer from a chips-and-salsa syndrome like us, you will love this recipe. If you don't suffer from it, this will get you addicted. This is so easy and flavorful, that you won't be willing to buy salsa from the store again. And can be made in less than 10 minutes! Did I mention it's super easy? If you can chop, you can make this salsa. Let's get started...
 This recipe serves 2 very hungry people.

Ingredients
Roma Tomatoes: 3
Onion: about a tablespoon, chopped
Garlic: 1 small clove
Jalapeno Peppers (Canned or fresh): a tablespoon, chopped
Bell Pepper: 2 tablespoons, chopped (less than a quarter of a bell pepper)
Corn (I used frozen): 1 tablespoon
Cilantro: 1/4 cup, chopped
Lime Juice: about half a tablespoon (or of half a lime)
Salt: 1 teaspoon (or to taste)
Sugar: 1 teaspoon (or to taste)

Procedure
1) Finely chop the tomatoes, onions, bell pepper, cilantro, and Jalapeno pepper. It is VERY important to chop finely and evenly. Remember, biting on a huge chunk of onion is the last thing you want to do while watching a romantic movie.
2) Mince the garlic, in as small pieces as you can. Show him who the boss is.
3) In a bowl, combine the tomatoes, onions, bell pepper, corn, cilantro, jalapeno and garlic. You can optionally add pineapple or mango for a fun twist.
4) Add salt, sugar, lime juice, and mix well.
5) I would recommend leaving the salsa in the fridge for 4-6 hours to let the flavors mingle, but if you can't wait, dig right in!
 
Note: Go easy on the onion and garlic if you're not a big fan, but I personally think garlic takes this salsa to a whole new level.

I bottled up my salsa in a recycled (salsa!) glass jar. Shh, don't tell anyone it's made at home!

Monday, April 23, 2012

Garlic-Cilantro Pull-Apart Rolls

I love following food blogs. My Google Reader has 30+ blogs subscribed to. There are so many talented people out there and being a new blogger, I feel like a tiny speck in the blogosphere. But I hope to learn and be able to contribute some great recipes.

Out of so many recipes that I read everyday, there are many that don't fit into the "categories" of what I can try. For instance, they contain red meat (which we don't eat), or fancy ingredients, or something that requires equipment that I don't posses (ice cream machine, for example). Or some are just way too much work and I don't have the strength or patience to do all that (Swedish Princess Cake, anyone?). However, there are many recipes that I instantly fall in love with and "bookmark" them to try out later. Garlic Cilantro Pull Apart Rolls was one of those. It was delicious, filling, and pretty easy to make. These would go very well with Italian Vegetable Soup and Herb Olive Oil, which I will post soon.

My recipe is an adaptation of Divya's whose inspiration was Pratibha.


Ingredients

For the Rolls

All purpose flour or Maida - 1.5 cup
Whole wheat Flour or Atta - 0.5 cup
Lukewarm Water - 1 cup (divided)

Sugar - 2 tsp
Salt - 2 tsp, or to taste
Active Dry Yeast - 1.5 tsp
Butter - 2 tsp, melted
Olive Oil - 2 tsp

For the Garlic-Cilantro Mixture

Garlic Cloves - 4 
Cilantro - 0.5 cup, roughly chopped
Green Chillies - 3-4, depending on your taste
Butter - 2 tbsp, at room temperature

Procedure
1) Take half a cup of lukewarm (not hot!) water (or microwave regular water for 30 seconds), add sugar, 1 tsp salt and mix well. Then add yeast and let the water sit for about 10 minutes, until the yeast starts to bloom. If your yeast has not bloomed, maybe its too old and you need to toss it out and get another one.

2) In the meanwhile, mix together whole wheat and all purpose flour in a large mixing bowl. Throw in 1 tsp salt and mix again. 
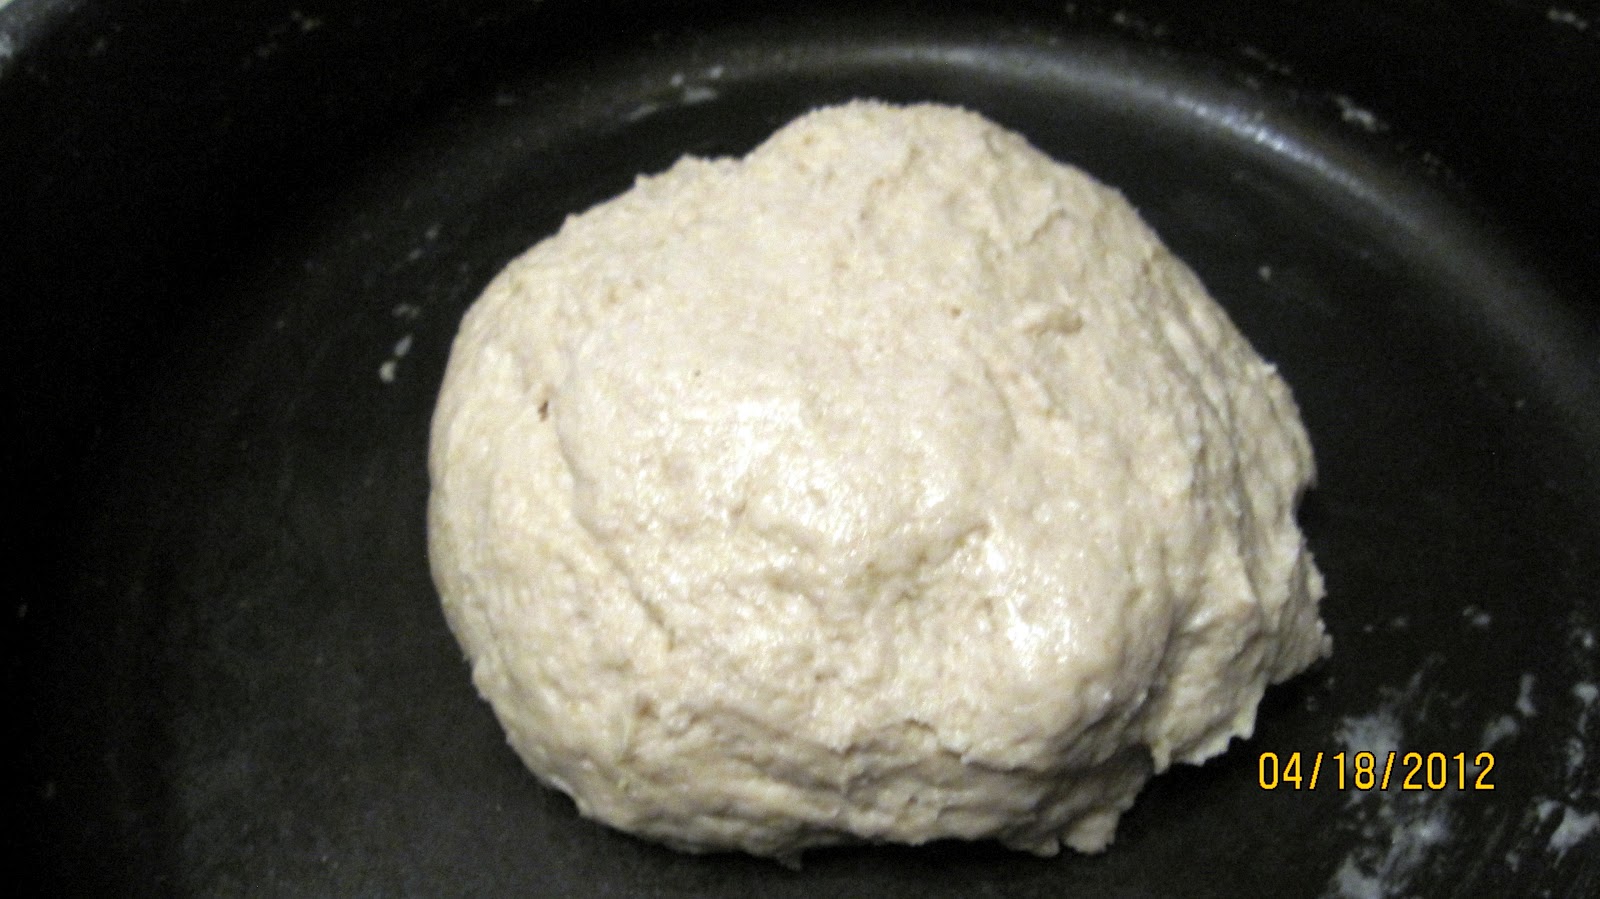
3) Add the yeast-water mixture and start kneading, gradually adding 1 tbsp water as required. You may or may not need the whole cup. The dough should be sticky (but not too much). Add water if it is too dry, and little flour if it is too sticky.
4) Once you have reached the desired consistency, add the olive oil and knead again.

5) Cover the bowl with a kitchen towel and put in a dark, warm spot in your kitchen (such as inside the oven). Walk away for 45 minutes to an hour. You may need more time if the temperature is less as the yeast may take some time to unleash its action.


6) Pre-heat oven to 350 F.
7) Throw together garlic cloves, chopped cilantro and chillies in your food processor and grind them to a paste. Remove and mix with 2 tbsp butter. Set aside.
8)  Peek under the kitchen towel and be happy to see how quickly and how much your dough has risen. Ideally it should be almost doubled in size. Puncture it and knead again, for a minute or two. 
9) Divide dough into two large balls. Flour your rolling surface and start rolling. You don't need to make a perfect circle. Oblong shape is fine too. Don't roll too much, it should not be thin.
10) Take half of the garlic-cilantro-butter mixture and apply evenly. In the meanwhile, please excude the poor quality of my pictures.


11)  Start rolling from one end and go all the way till it is all nicely wrapped up. Divide this into four smaller rolls by cutting with a knife.
12) Do the same for the other dough ball. 
13) Grease your baking pan (I used a circular one) and place the rolls in it. Be careful not to place it too much near the edges, if you want a nice uniformly baked rolls. At this point you may choose to apply a coat of egg wash or milk to the top of the rolls, to make them nice and shiny.
14) Bake for about 20-25 minutes, until the crust is golden brown. 
15) Remove from the oven and apply a coat of butter (because you are worth it).
16) Be flattered by all the compliments.


We enjoyed these for dinner with soup on a cold day. They were filling, warm, and delicious. We devoured two left over rolls the next morning with tea, and they tasted even better! I am already looking forward to making the next batch...YUM :)